Why You'll Love It
- - Easy to prepare with pantry staples
- - Baked, not fried, for a lighter bite
- - Versatile as a side or snack
- - Keeps well for leftovers
"These finger sticks are my new go‑to snack—crunchy, lightly seasoned, and guilt‑free!"
Essential Ingredient Guide
- Russet potatoes: Choose firm, skin‑smooth potatoes; they hold their shape when cut into sticks.
- Olive oil: A drizzle helps the seasonings cling and promotes even browning.
- Smoked paprika: Adds a gentle, smoky depth without overwhelming the potato’s natural sweetness.
- Sea salt: Enhances flavor; use sparingly to let the natural potato taste shine.
- Lemon zest: A bright accent that lifts the richness of the roasted sticks.
- Honey (optional): A tiny drizzle can balance the salt and bring a subtle glaze.
Complete Cooking Process
-
Ingredient Readiness:
Wash, peel if desired, and cut potatoes into uniform sticks about ½ inch thick. Soak briefly in cold water to remove excess starch.
-
Flavor Development:
Toss the sticks with olive oil, smoked paprika, sea salt, and lemon zest. The coating creates a fragrant layer that will crisp in the oven.
-
Texture Control:
Arrange sticks in a single layer on a parchment‑lined sheet; avoid crowding so each piece can turn golden.
-
Finishing Touches:
At the end of baking, drizzle with a whisper of honey if you like a gentle glaze, then sprinkle fresh herbs.
-
Serving Timing:
Serve hot, straight from the oven, while the edges are still crackling.
- Pat the sticks dry after soaking – moisture hinders crispness.
- Flip halfway through baking for uniform color.
- Add a pinch of garlic powder for extra aroma.
- Use a convection setting if your oven has one.
Pro Tips
These little adjustments make a big difference. I’ve found that a quick pat dry, followed by a confident flip, turns ordinary sticks into a comforting, crunchy treat. It’s the kind of thing that invites you to linger at the kitchen table, savoring the scent of roasted potatoes and the quiet joy of simple, well‑done food.
The essence of the dish:
A fun fact or historical angle:
Flavor or sensory focus:
You Must Know
- Don’t skip the soak – it prevents soggy sticks.
- Season while the sticks are still warm for better adhesion.
- Use parchment paper to avoid sticking.
Frequently Asked Questions
→ Can I use sweet potatoes?
Yes, but they will caramelize faster and may need a slightly lower oven temperature to avoid burning.
→ Do I need to peel the potatoes?
Peeling is optional; the skin adds texture and nutrients if left on.
→ How long can leftovers be stored?
Store in an airtight container in the fridge for up to three days; reheat in a hot oven to revive crispness.
→ Can I freeze them?
Freeze uncooked sticks for up to a month; bake from frozen, adding a few extra minutes.
→ What dipping sauce pairs best?
A simple aioli, yogurt herb dip, or even a light ketchup work beautifully.
→ Is it gluten‑free?
Absolutely, as long as you use gluten‑free seasonings.

Chef's Tips
For extra crispness, bake on the middle rack and use a convection setting if available.,Adjust the smoked paprika to taste; a pinch more adds depth.,Serve with a side of fresh greens for a balanced meal.
Nutrition Facts
per serving
210
Calories
3g
Protein
30g
Carbs
8g
Fat
Taste Profile
A balanced, lightly smoky and citrus‑bright flavor.
Ingredient Substitutions
Don't have an ingredient? Try these alternatives
Will caramelize faster; reduce baking time by 5 minutes.
Higher smoke point; works well for crisping.
Recipe Variations
Try these delicious twists on the original
Spicy Version
Add ½ tsp cayenne pepper and a dash of hot sauce to the seasoning mix for a gentle kick.
Herb‑Infused
Mix chopped rosemary and thyme into the olive oil before tossing the sticks.
Common Mistakes to Avoid
Learn from others' mistakes for perfect results
- Skipping the soak, which leads to soggy sticks.
- Overcrowding the baking sheet, preventing browning.
- Leaving them in the oven too long; they can burn.
Meal Prep & Storage
Make Ahead Tips
You can cut and soak the potatoes up to 24 hours ahead; keep them in cold water in the fridge.
Leftover Ideas
Reheat on a baking sheet at 375°F (190°C) for 10 minutes to bring back crispness.
Perfect Pairings
Serve this with...
Cooking Timeline
Gather and wash potatoes, then cut into sticks.
Soak sticks, then drain and pat dry.
Toss with oil, spices, and lemon zest.
Bake, flipping halfway, until crisp and golden.
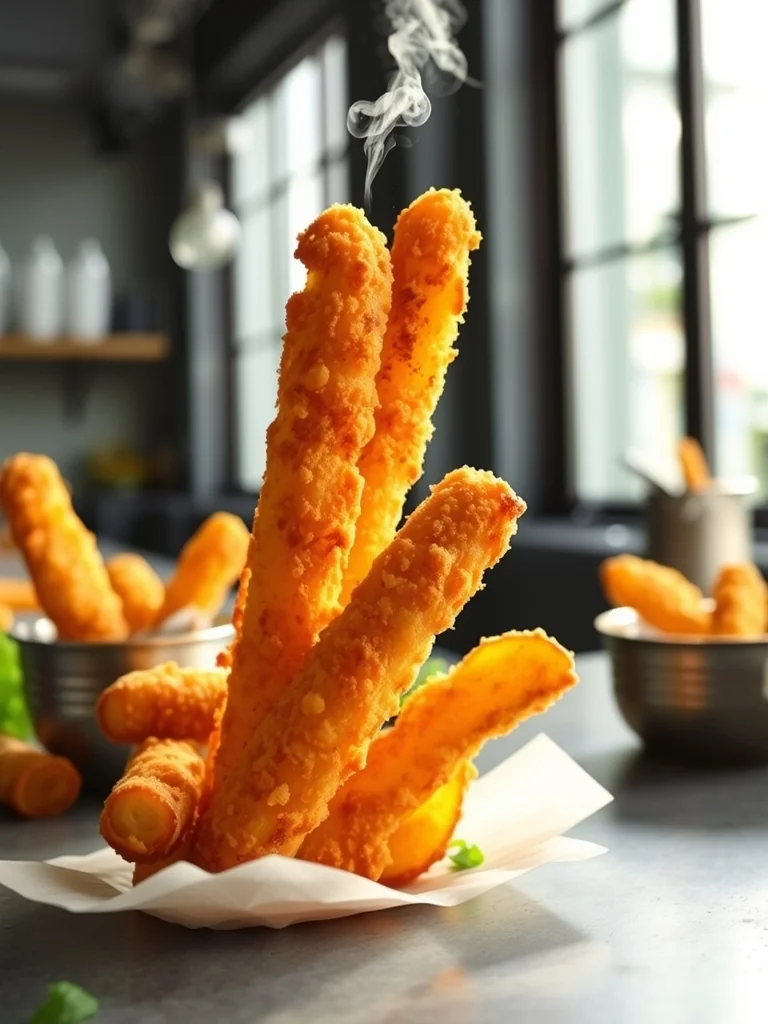
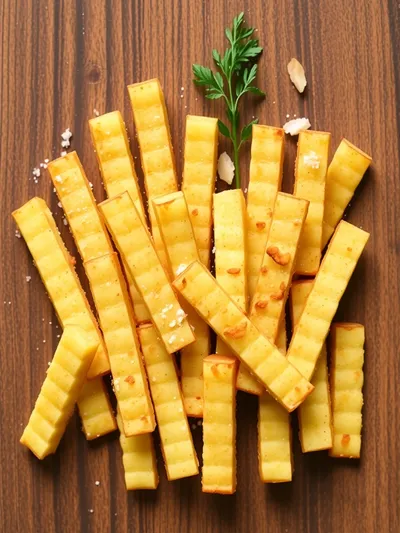
Crispy Potato Finger Sticks
Enjoy crispy, golden potato finger sticks—perfectly seasoned and quick to make for a tasty snack or side. They’re lightly tossed in olive oil, a whisper of smoked paprika, and a pinch of sea salt, then baked until they crackle with a gentle crunch.
Timing
Prep Time
15 Minutes
Cook Time
25 Minutes
Total Time
40 Minutes
Recipe Details
Ingredients
Main Ingredients
- 01 4 large russet potatoes, cut into finger‑size sticks
- 02 2 tbsp olive oil
- 03 1 tsp smoked paprika
- 04 ½ tsp sea salt
- 05 1 tsp lemon zest
- 06 Optional: 1 tsp honey for glaze
Instructions
Wash and peel the potatoes if you wish; slice them into even sticks about half an inch thick.
Soak the sticks in a bowl of cold water for 5 minutes, then drain and pat completely dry.
In a large bowl, toss the dried sticks with olive oil, smoked paprika, sea salt, and lemon zest until evenly coated.
Spread the sticks on a parchment‑lined baking sheet in a single layer; bake at 425°F (220°C) for 20‑25 minutes, turning halfway, until golden and crisp.
If using honey, drizzle over the hot sticks, toss gently, and serve immediately.
Notes & Tips
- 1 For extra crispness, bake on the middle rack and use a convection setting if available.
- 2 Adjust the smoked paprika to taste; a pinch more adds depth.
- 3 Serve with a side of fresh greens for a balanced meal.
Tools You'll Need
-
Sharp knife
-
Cutting board
-
Large mixing bowl
-
Baking sheet
-
Parchment paper
-
Oven
Must-Know Tips
- Pat sticks dry after soaking – moisture stops crisping.
- Flip sticks halfway through baking for even color.
- Season while hot for better adhesion.
Professional Secrets
- Soak potatoes to remove excess starch, ensuring a crunchy exterior.
- Use a hot oven to create steam that lifts the outer layer.
- Finish with a splash of citrus to brighten the flavor.

Recipe by
Daniel GreenfieldChef Daniel Greenfield focuses on nutritious meals made with fresh and wholesome ingredients. His recipes are designed for people who want to eat heal ...
Get Delicious Recipes Weekly
Join 25,000+ home cooks getting our best recipes straight to their inbox.
Free forever • No spam • Unsubscribe anytime