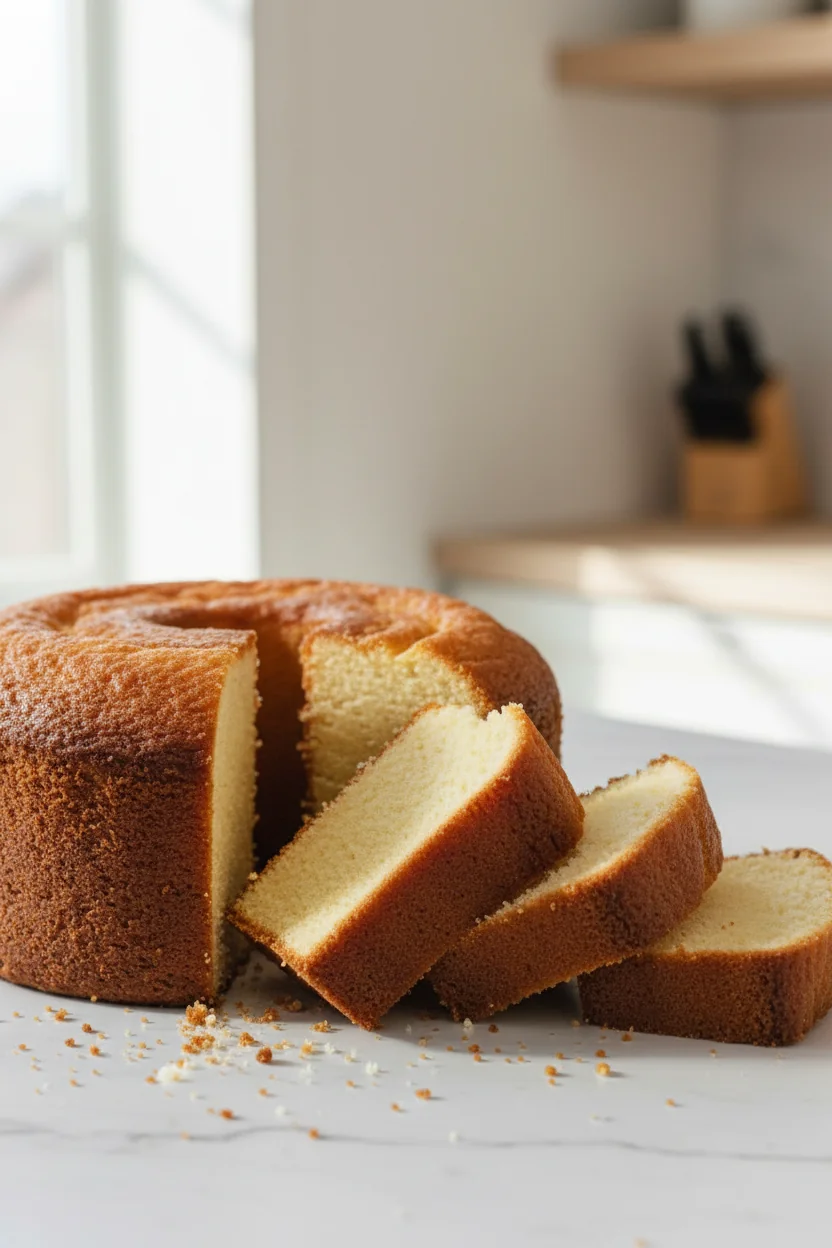
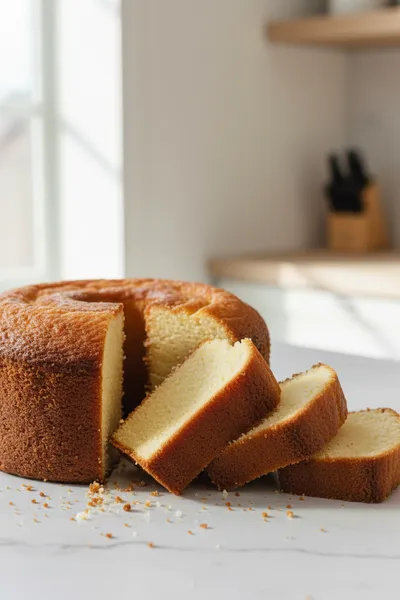
The traditional pound cake traces its origins back to the 18th century, where its name derived from the strict ratio of using one pound each of flour, butter, eggs, and sugar. This mathematical precision ensured a dense, rich crumb that could be preserved for longer periods without spoiling. Over time, the recipe evolved from a luxury for the elite into a staple of home baking, prized for its versatility and the golden hue it achieves through slow caramelization in the oven.
Why You'll Love It
-
- Only four basic pantry ingredients are needed, so no last-minute store runs
-
- A beautifully dense yet moist texture that pairs perfectly with tea or coffee
-
- The golden-brown crust provides a lovely contrast to the soft interior
-
- It's a foolproof method that yields a professional-looking result every time
This cake is like a hug in a slice. So simple, yet it tastes like it took hours of effort!
Essential Ingredient Guide
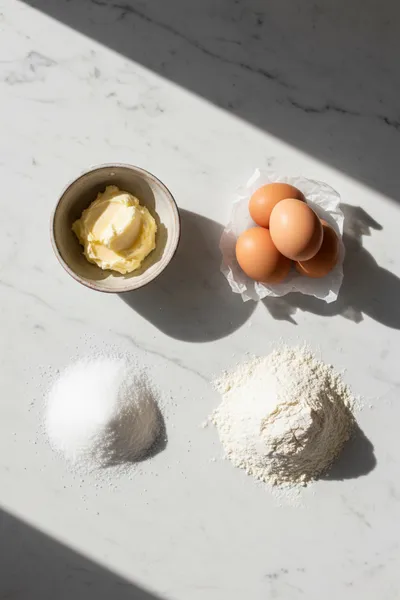
- Unsalted Butter: The heart of the cake. Using high-quality butter ensures that rich, creamy flavor. Make sure it's truly softened, not melted, so it creams properly with the sugar.
- Granulated Sugar: This provides the sweetness and helps create those tiny air bubbles. It should be added gradually to avoid clumps.
- Large Eggs: Eggs provide the structure and lift. Using room-temperature eggs prevents the batter from curdling or splitting when mixed into the butter.
- All-Purpose Flour: The foundation of the cake. Sift it gently to keep the batter light and avoid those little pockets of unmixed flour.
- Vanilla Extract (Optional): While not part of the 4-ingredient core, a splash of vanilla adds a nostalgic warmth that balances the richness.
- Pinch of Salt: A tiny bit of salt awakens the butter and sugar, making the flavor feel more complete and less one-dimensional.
 Desserts & Baking
Blueberry Crumble Bars – Easy Homemade Dessert
Buttery blueberry crumble bars that are easy to bake and delightful to share.
Complete Cooking Process
-
Ingredient Readiness:
It all starts with patience. I always make sure my butter and eggs are sitting out on the counter for a while. If they are too cold, the batter gets grumpy and separates, and ugh, that's just a headache you don't need. Let them reach a comfortable room temperature.
-
Flavor Development:
The magic happens during the creaming stage. Beating the butter and sugar together until they are pale and fluffy is where the air is trapped, creating that soft, velvet-like feel on the tongue.
-
Texture Control:
When you add the flour, the goal is to be gentle. Over-mixing at this stage makes the cake tough, and we want it to melt away. Just a few slow folds until the streaks of white disappear.
-
Finishing Touches:
Once it comes out of the oven, letting it rest in the pan for ten minutes is key. It settles the structure so it doesn't crumble when you turn it out onto the plate.
-
Serving Timing:
While it's lovely warm, this cake actually tastes better the next day. The flavors deepen and the moisture settles into every crumb.
-
Avoid opening the oven door too often or the cake might sink in the middle
-
Grease your pan generously with butter and a dust of flour for a clean release
-
Use a paddle attachment on your mixer for the best creaming results
-
Check for doneness with a wooden skewer; it should come out with just a few moist crumbs
Pro Tips
I remember once I was in such a rush that I used melted butter instead of softened butter. Look, it still tasted alright, but the texture was far too oily and it didn't rise nearly as much. It taught me that in baking, the little things—like temperature—really do matter.
So, just take your time. There's no race here. Put on a bit of music, enjoy the smell of the butter, and let the process be as sweet as the cake itself.
The essence of the dish:
What makes this specific pound cake special is its honesty. It doesn't rely on fancy leaveners or complex flavorings. It's a celebration of the basic harmony between fat, sugar, and grain, resulting in a cake that is deeply satisfying and timeless.
A fun fact or historical angle:
In the early days, the 'pound' referred to the weight of each ingredient. Because scales weren't as common in every home, people relied on the sheer volume and weight to ensure consistency, leading to the incredibly dense and rich nature of the old-fashioned pound cake style.
Flavor or sensory focus:
The first thing you'll notice is the scent—a rich, toasted buttery aroma that fills the room. When you taste it, you get a subtle sweetness followed by a creamy, melting sensation that feels like a warm memory.
You Must Know
-
Room temperature ingredients are non-negotiable for a smooth batter
-
Sifting the flour prevents lumps and keeps the cake tender
-
A slow, steady bake is better than a fast, high-heat one
Frequently Asked Questions
→ Can I use margarine instead of butter?
You can, but I wouldn't recommend it. The flavor comes primarily from the butter, and margarine can leave a slightly oily aftertaste and a different texture.
→ Why did my cake sink in the middle?
This usually happens if the oven door is opened too early, letting out the heat, or if the eggs and butter weren't creamed enough to hold the air.
→ Can I add lemon zest to this?
Absolutely. Adding a bit of zest transforms this into a moist lemon pound cake which is lovely for brighter afternoons.
→ How do I store the cake to keep it moist?
Wrap it tightly in plastic wrap or keep it in an airtight container at room temperature for up to 4 days.
→ Do I need a stand mixer?
A hand mixer works just fine, though it takes a few more minutes of elbow grease to get the butter and sugar fluffy.
→ Can I freeze this cake?
Yes, you can freeze slices of the cake wrapped in foil. Just thaw them in the fridge or microwave for a few seconds.
Nutrition Facts
per serving
410
Calories
6g
Protein
45g
Carbs
22g
Fat
Taste Profile
Rich, buttery, and classic sweetness with a clean finish.
Ingredient Substitutions
Don't have an ingredient? Try these alternatives
If using salted butter, omit the extra pinch of salt.
Caster sugar dissolves more easily and can lead to an even finer crumb.
Recipe Variations
Try these delicious twists on the original
Coconut Twist
Replace 1/4 cup of flour with shredded coconut for a coconut pound cake recipe feel.
Almond Infusion
Add 1 teaspoon of almond extract along with the vanilla for a nutty, sophisticated depth.
Common Mistakes to Avoid
Learn from others' mistakes for perfect results
- Using melted butter: this ruins the aeration and makes the cake dense and greasy.
- Over-mixing the flour: this develops too much gluten, making the cake rubbery.
- Opening the oven door too often: causes the cake to lose heat and collapse.
Meal Prep & Storage
Make Ahead Tips
You can prepare the batter and keep it in the fridge for a few hours, but you'll need to let it warm up slightly before baking to ensure it rises correctly.
Leftover Ideas
Reheat a slice in the microwave for 10 seconds to bring back that fresh-out-of-the-oven buttery warmth.
Perfect Pairings
Serve this with...
Cooking Timeline
Preheat oven and prepare the loaf pan with butter and flour.
Cream butter and sugar until pale and fluffy.
Beat in eggs one by one and stir in vanilla.
Gently fold in the flour and salt until just combined.
Bake for 50-60 minutes and cool before serving.
Easy Pound Cake Recipe with 4 Simple Ingredients
A gentle, buttery cake made with just four staples. This pound cake recipe brings back memories of slow afternoons and a warm, sweet-smelling kitchen.
Timing
Prep Time
20 Minutes
Cook Time
60 Minutes
Total Time
80 Minutes
Recipe Details
Ingredients
The Core Four
-
01
1 cup unsalted butter, softened to room temperature
-
02
1 cup granulated white sugar
-
03
4 large eggs, room temperature
-
04
1 1/2 cups all-purpose flour
Optional Enhancements
-
01
1 tsp vanilla extract
-
02
1/4 tsp salt
Instructions
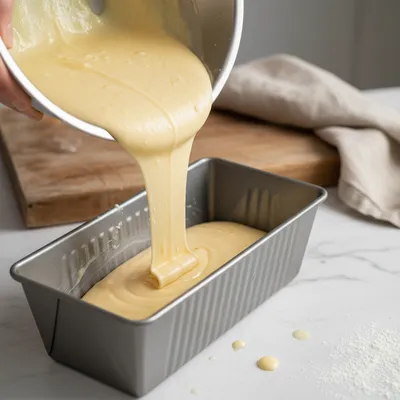
Preheat your oven to 325°F (165°C). Grease a 9x5 inch loaf pan with plenty of butter and lightly dust it with flour, tapping out the excess. It's a small thing, but it saves so much heartache later.
In a large bowl, beat the softened butter and sugar together. I usually do this on medium-high speed for about 3 to 5 minutes. You're looking for it to become pale, fluffy, and almost airy. Wow, it really changes right before your eyes.
Add the eggs one by one. I mean, really take your time here. Beat each egg in fully before adding the next one. If you're using vanilla, stir it in now. If the batter looks like it's separating, just keep whisking gently; it'll come back together.
Turn the mixer to low and gradually add the flour and salt. Mix only until the flour just disappears. If you over-mix it, the cake becomes tough, and we want it to feel like a cloud, not a brick.
Spoon the batter into your prepared pan and smooth the top with a spatula. Now, slide it into the oven and let it be. No peeking for at least 45 minutes!
Bake for 50 to 60 minutes. Start checking it around the 50-minute mark. A toothpick inserted into the center should come out clean or with a few moist crumbs clinging to it.
Let the cake cool in the pan for about 10 to 15 minutes. Then, carefully lift it out and place it on a wire rack to cool completely before slicing.
Notes & Tips
-
1
If you're in a humid place, the flour might clump more; sifting is your best friend here.
-
2
For a richer look, you can brush the top with melted butter right after it comes out of the oven.
-
3
Don't use a glass pan if you can avoid it; metal pans provide a more even, golden crust.
Tools You'll Need
-
9x5 inch loaf pan
-
Electric hand mixer or stand mixer
-
Large mixing bowl
-
Sifter or fine-mesh strainer
-
Rubber spatula
-
Toothpick or cake tester
Must-Know Tips
-
Softened butter is key: it should be cool to the touch but yield easily to a finger press.
-
Don't rush the eggs: adding them too quickly can break the emulsion of the batter.
-
Cooling is part of the cooking: cutting into a hot cake can cause it to collapse or feel gummy.
Professional Secrets
-
Sifting flour twice: This incorporates more air and results in a lighter crumb.
-
Creaming for a full 5 minutes: Most people stop too early; the longer you cream, the better the lift.
-
Using a strip of damp parchment paper around the pan: This prevents the edges from over-browning.
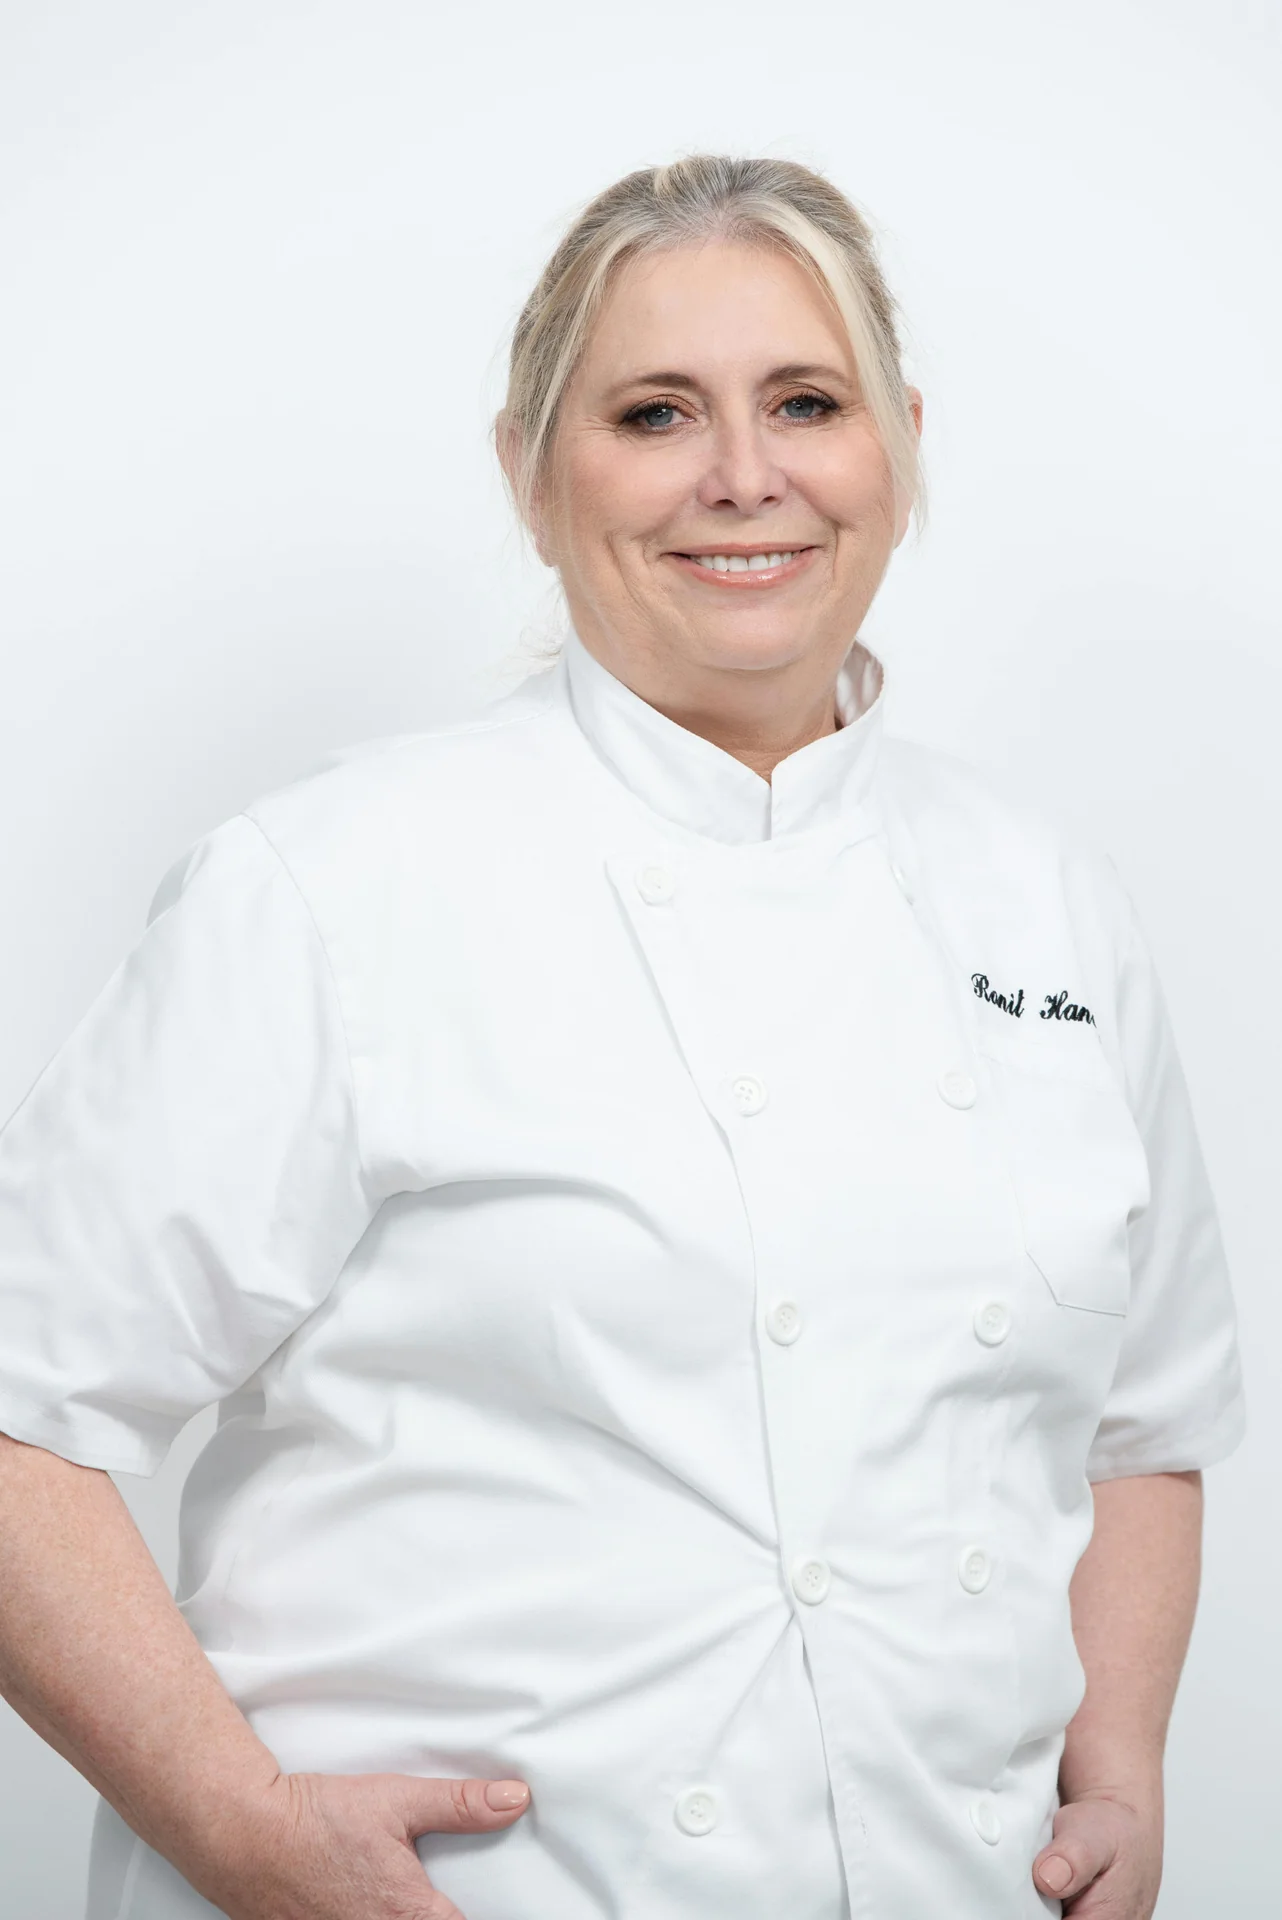
Recipe by
Amelia HartChef Amelia Hart is a dessert enthusiast who loves creating elegant cakes, cookies, and baked treats. Her baking style combines classic pastry techniq ...
Get Delicious Recipes Weekly
Join 25,000+ home cooks getting our best recipes straight to their inbox.
Free forever • No spam • Unsubscribe anytime