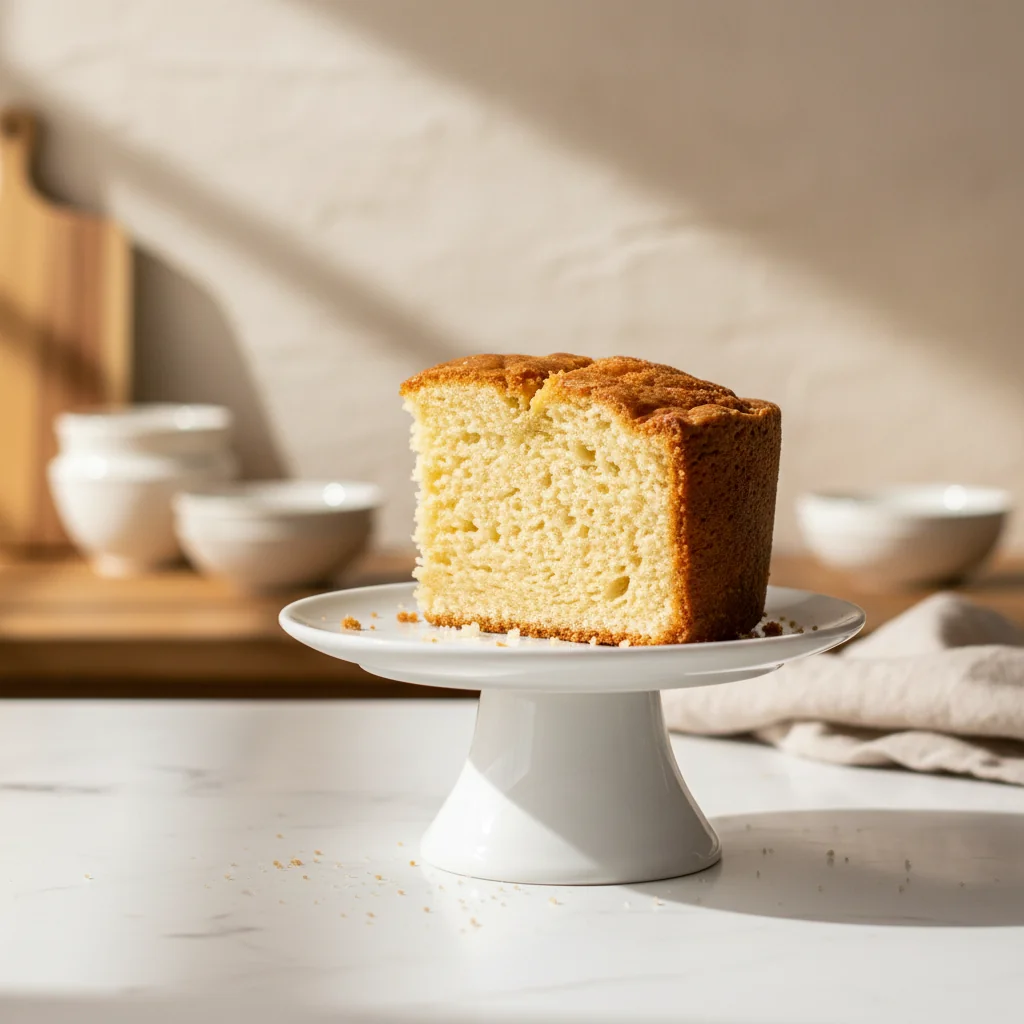
Pound cake traces its roots back to the 18th century, originating as a simple ratio of one pound each of flour, butter, eggs, and sugar. This straightforward approach made it a staple in early colonial kitchens where ingredients were basic and measurements were often done by feel rather than a strict scale. Over generations, the recipe evolved from a dense, heavy loaf into the lighter, more tender version known today, becoming a symbol of home-baked hospitality and a centerpiece for family gatherings across the globe.
Why You'll Love It
-
- The aroma of real butter and vanilla is absolutely intoxicating
-
- Only a few basic pantry staples are needed, no fancy trips to the store
-
- The texture is a perfect balance of a dense crumb and a moist center
-
- It's a forgiving recipe that's wonderful for those just starting to bake
"It tastes exactly like the ones my nana used to make on Sunday afternoons. So incredibly buttery and soft!"
Essential Ingredient Guide
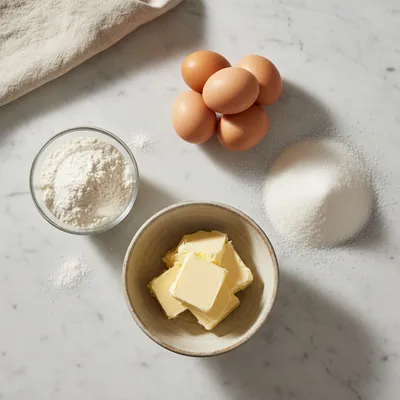
- Unsalted Butter: Use high-quality butter softened to room temperature. It should give slightly when pressed but not be oily; this ensures the cake rises properly.
- Granulated Sugar: Fine sugar blends more easily into the butter, creating that smooth, velvety batter we're after.
- Large Eggs: Make sure eggs are at room temperature so they don't curdle the butter when you mix them in.
- All-Purpose Flour: Sift the flour to remove lumps, giving the cake a more refined and professional structure.
- Pure Vanilla Extract: A generous splash of real extract provides that deep, nostalgic flavor that imitation versions just can't mimic.
- Salt: Just a pinch to balance the sweetness and enhance the richness of the butter.
Complete Cooking Process
-
Ingredient Readiness:
The secret here is patience. You'll want your butter and eggs to sit out for an hour or two. Cold ingredients just don't want to play nice together, and your batter might look broken if you rush this part.
-
Flavor Development:
The magic happens during the creaming stage. Beating the butter and sugar until they are pale and fluffy traps air, which gives the cake its lift and creates a sweet, buttery foundation.
-
Texture Control:
Once the flour goes in, we stop the heavy beating. A gentle fold ensures the cake stays tender. Too much mixing at the end makes the cake tough, and we want it to melt in your mouth.
-
Finishing Touches:
Testing with a toothpick is the only way to be sure. A few moist crumbs are fine, but the cake should pull away slightly from the edges of the pan.
-
Serving Timing:
Let it cool in the pan for about ten minutes, then move it to a wire rack. If you slice it too early, the steam escapes, and the cake can dry out faster.
-
Cream the butter and sugar for at least 5 minutes
-
Avoid opening the oven door too often to prevent sinking
-
Use a parchment-lined pan for a stress-free release
-
Sift your flour twice for an extra airy crumb
Pro Tips
Honestly, I used to forget the parchment paper and spend half my afternoon scrubbing a sticky pan. Oops. Now I just line it with a strip of paper and grease the rest with butter. It makes such a difference in how the cake slides out.
And look, if your batter looks a little curdled after adding the eggs, don't panic. Just keep mixing or add a tablespoon of your flour. It'll smooth right out, I promise.

The essence of the dish:
What makes this classic pound cake recipe special is its simplicity. It doesn't rely on frosting or fancy fillings. Its beauty lies in the purity of butter and the slow, steady heat of the oven, resulting in a golden crust and a heart of gold.
A fun fact or historical angle:
Back in the day, people didn't have measuring cups. They literally used a pound of each ingredient. It's a reminder of a time when cooking was more about instinct and feel than digital scales.
Flavor or sensory focus:
When you take that first bite, you'll notice the rich, creamy taste of butter followed by a warm, lingering vanilla. It's a soft, comforting texture that feels like a warm blanket on a rainy afternoon.
You Must Know
-
Room temperature eggs are non-negotiable
-
Don't overmix once the flour is added
-
Use a heavy-bottomed loaf pan for even heating
Frequently Asked Questions
→ Can I use a different pan?
Yes, a Bundt pan works beautifully for a more festive look, just make sure to grease it very well.
→ Why did my cake sink in the middle?
This usually happens if the oven door is opened too early or if the baking powder/cream was expired.
→ How do I store this cake to keep it moist?
Keep it in an airtight container at room temperature for 3 days, or wrap it tightly and freeze it.
→ Can I substitute the butter with margarine?
You can, but the flavor won't be as rich. For the true grandmother's experience, real butter is best.
→ What if I don't have a stand mixer?
A hand mixer works just fine! Just be sure to scrape the sides of the bowl frequently.
→ Can I add lemon zest for flavor?
Absolutely. A teaspoon of lemon zest adds a lovely brightness that cuts through the richness.
Nutrition Facts
per serving
420
Calories
6g
Protein
48g
Carbs
22g
Fat
Taste Profile
Deeply buttery and sweet with a warm vanilla finish.
Ingredient Substitutions
Don't have an ingredient? Try these alternatives
Buttermilk adds a slight tang, similar to an old fashioned sour cream cake.
If using salted butter, omit the 1/2 teaspoon of extra salt.
Recipe Variations
Try these delicious twists on the original
Lemon Glazed
Mix powdered sugar with a squeeze of lemon juice and drizzle over the cooled cake.
Marble Style
Swirl in a small amount of cocoa-powder batter for a chocolate-vanilla twist.
Common Mistakes to Avoid
Learn from others' mistakes for perfect results
- Overmixing the batter after adding flour, which makes the cake tough.
- Using cold eggs, which causes the butter to clump and the batter to separate.
- Opening the oven door too frequently, letting out the heat and causing the cake to sink.
Meal Prep & Storage
Make Ahead Tips
You can bake the cake a day in advance. In fact, it often tastes even better the next day as the butter settles into the crumb.
Leftover Ideas
Slices can be toasted lightly in a pan with a tiny bit of butter for a warm, decadent breakfast treat.
Perfect Pairings
Serve this with...
Cooking Timeline
Preheat oven and prep the loaf pan with grease and parchment.
Cream butter and sugar until pale and fluffy.
Beat in eggs one by one and add vanilla.
Alternate adding dry ingredients and milk, mixing gently.
Bake for 60 minutes until golden and a toothpick comes out clean.
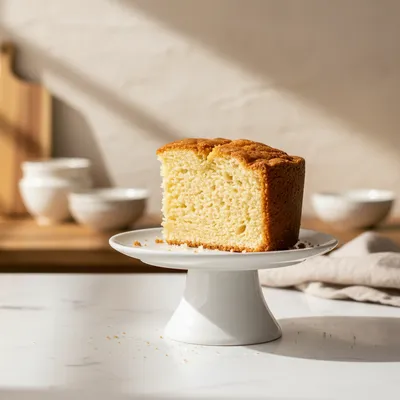
Grandmother's Pound Cake Recipe for Beginners
A gentle, buttery classic that brings the warmth of home to your kitchen. This grandmother's pound cake is moist, simple, and perfect for any cozy gathering.
Timing
Prep Time
20 Minutes
Cook Time
60 Minutes
Total Time
80 Minutes
Recipe Details
Ingredients
Main Batter
-
01
1 cup (2 sticks) unsalted butter, softened
-
02
2 cups granulated sugar
-
03
4 large eggs, room temperature
-
04
3 cups all-purpose flour
-
05
1/2 teaspoon salt
-
06
1 tablespoon baking powder
Flavorings
-
01
2 teaspoons pure vanilla extract
-
02
1/4 cup whole milk, room temperature
Instructions
Preheat your oven to 325°F (165°C). Grease a 9x5 inch loaf pan with butter and line the bottom with parchment paper. I find this helps the cake slide out without a fight.
In a large bowl, cream together the softened butter and sugar. Use your mixer and go at it for a good five minutes until the mixture looks pale and fluffy. It should almost look like whipped cream.
Add the eggs one by one, beating well after each addition. I usually pause to scrape the bowl with a spatula so everything is well incorporated. Stir in the vanilla extract.
In a separate bowl, whisk together the flour, salt, and baking powder. Now, the slow part: add the dry ingredients to the butter mixture alternating with the milk. Start with flour, then milk, and end with flour. Mix just until combined.
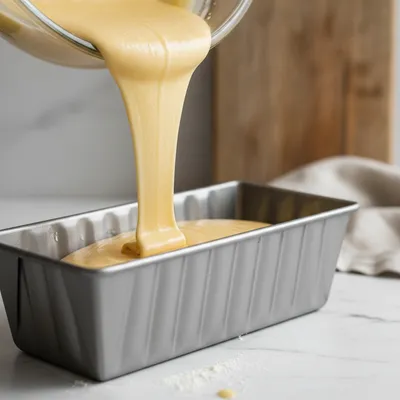
Spoon the batter into your prepared pan and smooth the top with a spatula. Don't overfill it; leave a little room for the cake to climb.
Bake for 55 to 65 minutes. Start checking at the hour mark with a toothpick. If it comes out clean or with a few moist crumbs, it's ready. The top should be a lovely golden brown.
Let the cake cool in the pan for 10 minutes before carefully lifting it out onto a wire rack to cool completely.
Notes & Tips
-
1
If you want an even moister cake, you can try a sour cream version for extra richness.
-
2
Avoid using 'extra-light' butter as it changes the fat content and can make the cake collapse.
-
3
Store slices in individual wax paper to keep them from drying out in the fridge.
Tools You'll Need
-
9x5 inch loaf pan
-
Electric hand mixer or stand mixer
-
Large mixing bowls
-
Sifter or whisk
-
Measuring cups and spoons
-
Parchment paper
-
Toothpick
Must-Know Tips
-
Never rush the creaming process; this is where the lightness comes from.
-
Room temperature ingredients are a must, otherwise your batter will separate.
-
Don't overbake. Even five extra minutes can turn a moist cake into a dry one.
Professional Secrets
-
Sifting flour twice ensures there are no clumps and creates a more delicate crumb.
-
Tapping the pan on the counter before baking pops any large air bubbles.
-
Using a lower oven temperature (325°F) prevents the edges from burning before the center is done.
Recipe by
Amelia HartChef Amelia Hart is a dessert enthusiast who loves creating elegant cakes, cookies, and baked treats. Her baking style combines classic pastry techniq ...
Get Delicious Recipes Weekly
Join 25,000+ home cooks getting our best recipes straight to their inbox.
Free forever • No spam • Unsubscribe anytime